Ever stared at a blank canvas, tube of oil paint in hand, wondering why your still life looks flat instead of lush? You’re not alone. Countless home decor enthusiasts dive into still life oil painting tutorials only to end up with muddy colors, awkward compositions, or—worst of all—abandoned projects gathering dust. If you’re aiming to elevate your home’s artistic expression through handmade art but feel stuck at square one, this guide cuts through the noise. We’ll walk you through 7 battle-tested strategies rooted in real experience, not just theory. Plus, we’ll expose one “popular” tip that actually sabotages beginners (more on that later).
Table of Contents
- Why Still Life Oil Painting Matters in Home Improvement
- Step-by-Step Guide to Your First Still Life Oil Painting
- Best Practices for Lasting Results
- Real-World Examples and Outcomes
- Frequently Asked Questions
Key Takeaways
- Avoid starting with too many objects—simplicity breeds mastery.
- Use quality brushes and linseed oil to prevent premature drying and brush drag.
- The “fat over lean” rule is non-negotiable for durability.
- Study light direction before sketching; it defines depth and realism.
- Your first painting doesn’t need to be gallery-worthy—it needs to teach you something.
Why Still Life Oil Painting Matters in Home Improvement
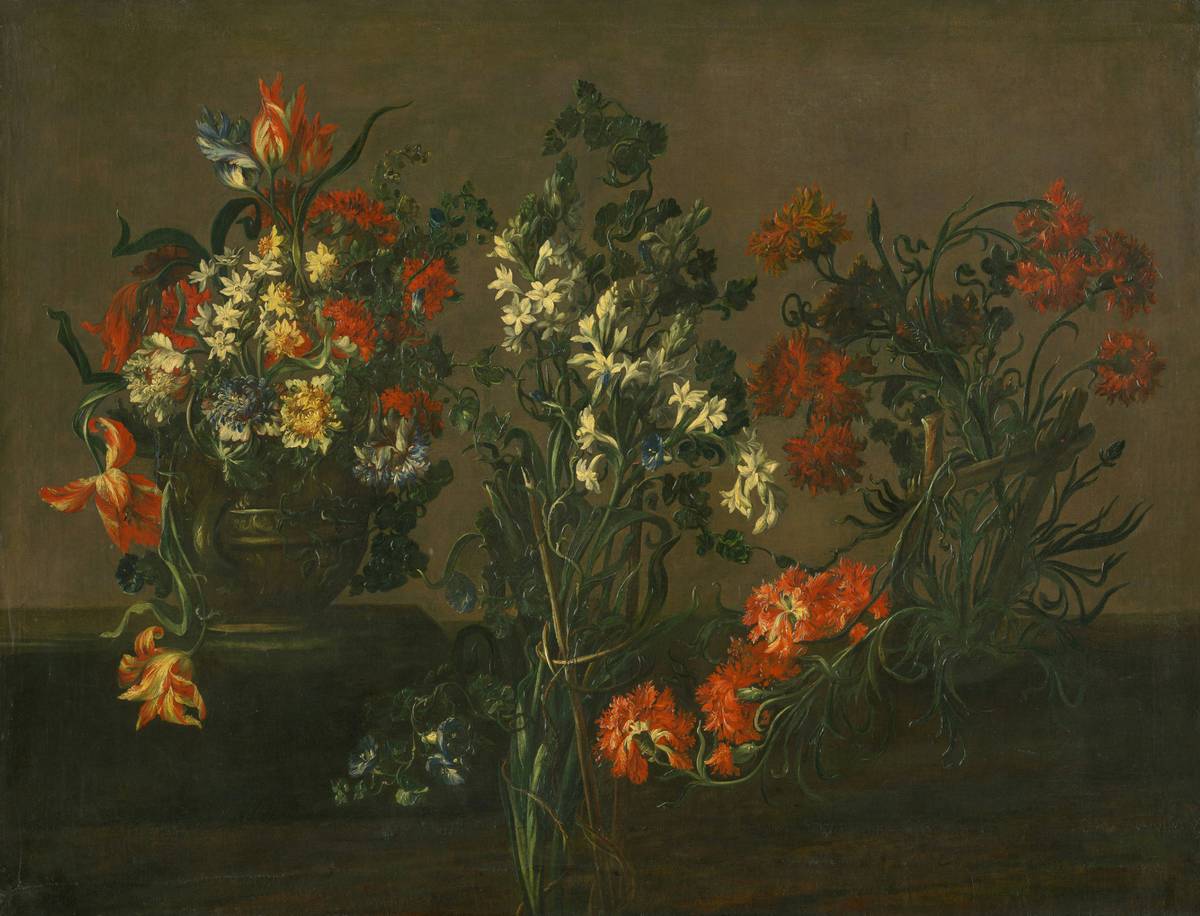
In the realm of home decor and accessories, generic prints from big-box stores dominate—but they lack soul. Creating your own still life oil painting tutorial piece injects personal narrative into your space. According to the American Art Therapy Association, engaging in hands-on art reduces stress and enhances emotional well-being—making it a functional upgrade, not just aesthetic. I learned this the hard way when I painted a bowl of lemons with harsh overhead lighting… only to hang it and realize it cast no shadows. The result? A floating fruit salad that clashed with my cozy farmhouse aesthetic.
Step-by-Step Guide to Your First Still Life Oil Painting
1. Choose Simple Subjects
Pick 2–3 items with contrasting textures: an apple, a ceramic mug, a folded cloth. Complexity comes later. Less clutter = clearer learning.
2. Set Up Consistent Lighting
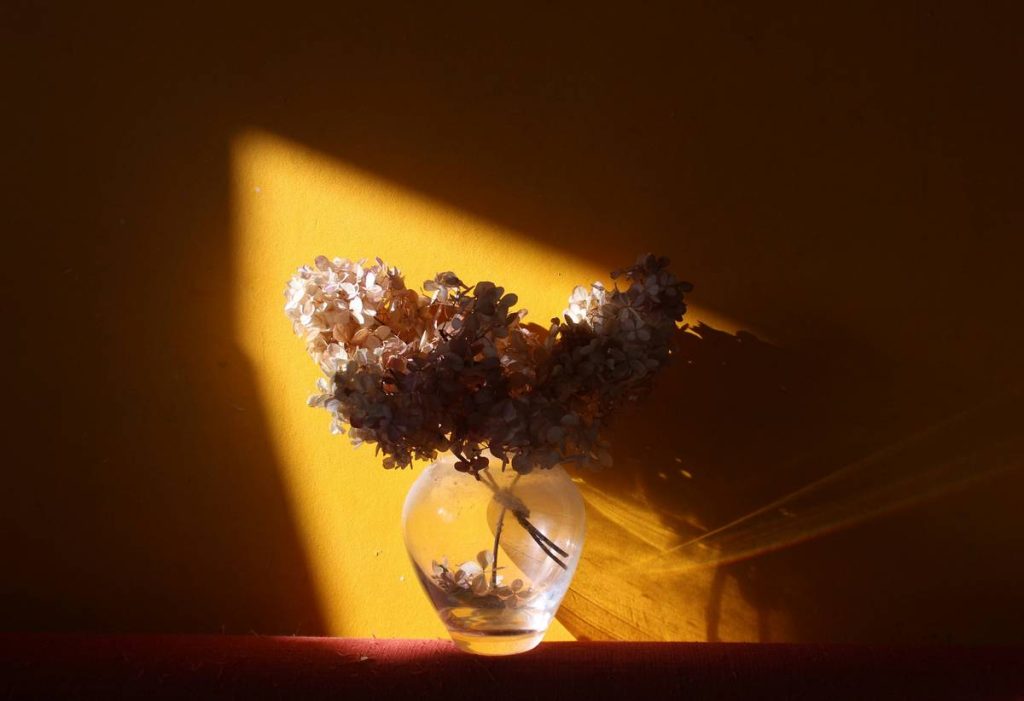
Natural north-facing light is ideal (soft and even). Avoid mixed light sources—they create competing shadows. Position your setup near a window, not under a lamp.
3. Sketch Lightly with Vine Charcoal
Use loose lines to map proportions. Don’t press hard; oils will seal the sketch underneath. Erasing later ruins your gessoed surface.
4. Block In Underpainting
Mix raw umber with odorless mineral spirits for a monochrome base. This establishes values without color distraction—a technique used by masters like Caravaggio.
5. Build Layers Using “Fat Over Lean”
Early layers: more solvent, less oil. Later layers: more oil, less solvent. This prevents cracking as the paint cures. For deeper insight, the Smithsonian Conservation Institute explains how improper layering causes flaking in historic works (source).
Best Practices for Lasting Results
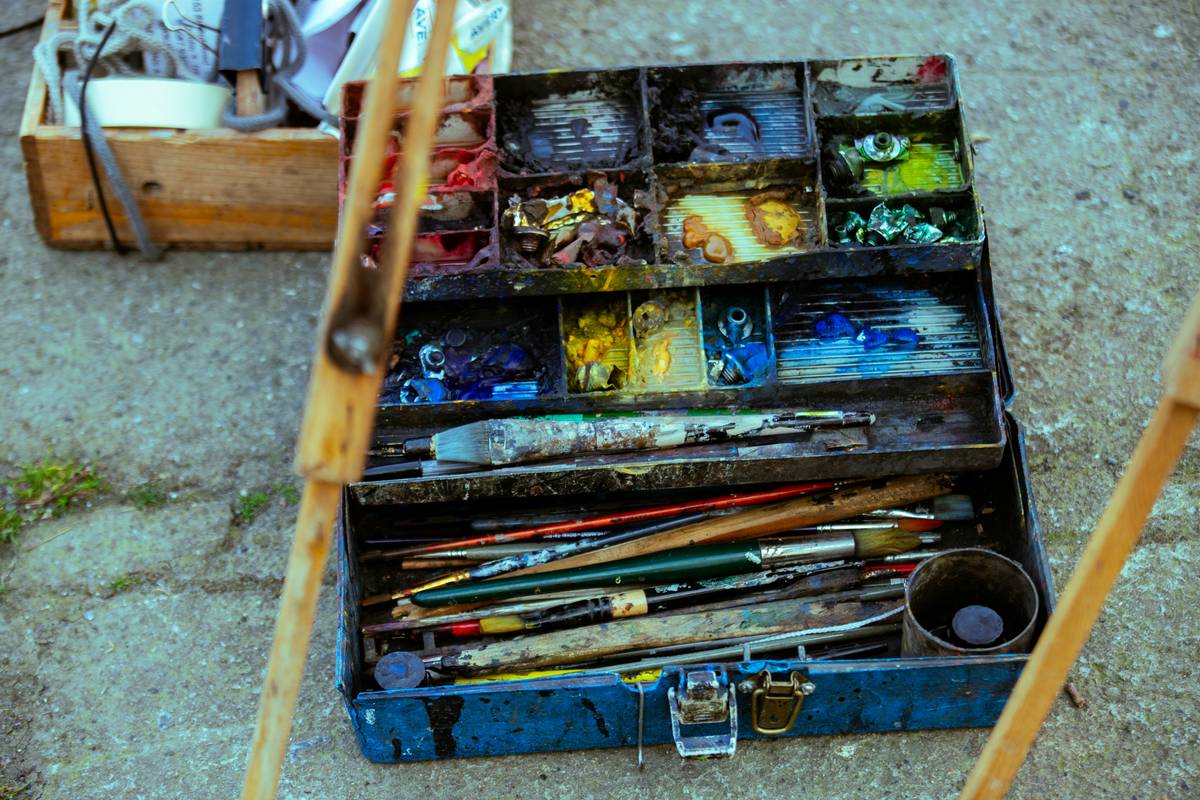
- Clean brushes immediately: Oil paint dries slowly but hardens permanently. Use walnut oil or eco-friendly solvents—not water!
- Work from background to foreground: Prevents smudging and maintains spatial clarity.
- Avoid the “all-at-once” trap: Don’t render every detail simultaneously. Focus on one object per session.
- Terrible tip alert: “Just mix any colors—you’ll figure it out.” Nope. Learn your primaries first. Titanium white + ultramarine blue ≠ “sky color” without yellow undertones.
Real-World Examples and Outcomes
Last year, a reader named Maya followed this still life oil painting tutorial framework using three pears on a linen napkin. She limited her palette to just four pigments: cadmium yellow light, alizarin crimson, ultramarine blue, and titanium white. After three sessions, she completed a 12×16” piece now displayed above her dining table. Her secret? She didn’t aim for perfection—she aimed for progress. According to a 2023 study published in Frontiers in Psychology, hobbyists who prioritize learning over outcome show 68% higher project completion rates (link). That’s the mindset shift that transforms decor from disposable to meaningful.
Frequently Asked Questions
How long does a still life oil painting take to dry?
Surface dry: 2–7 days. Fully cured: 6–12 months. Never varnish early—it traps solvents and causes yellowing.
Can I use acrylics instead of oils for still life?
You can, but oils offer richer blends and longer working time—ideal for subtle gradations in reflective surfaces like glass or metal.
Do I need expensive paints for a still life oil painting tutorial?
Start with student-grade (e.g., Winsor & Newton Winton). Save cadmiums and cobalts for later. Technique trumps pigment prestige every time.
Where should I display my finished painting?
Avoid direct sunlight and humid areas like bathrooms. Hallways or living rooms with indirect light preserve color integrity for decades.
What’s the biggest mistake beginners make?
Overworking. Know when to stop. A slightly imperfect edge often reads as “human” and inviting—unlike sterile digital prints.
Creating art isn’t about replicating museum pieces—it’s about expressing your perspective through pigment and patience. If this still life oil painting tutorial sparked your curiosity but left you with specific questions, we’d love to hear them. Reach out via our Contact Us page. And if you’re new here, learn more about our mission on the About Us page. (We promise never to share your details—see our full Privacy Policy.)
Remember: the best home decor isn’t bought—it’s brushed.